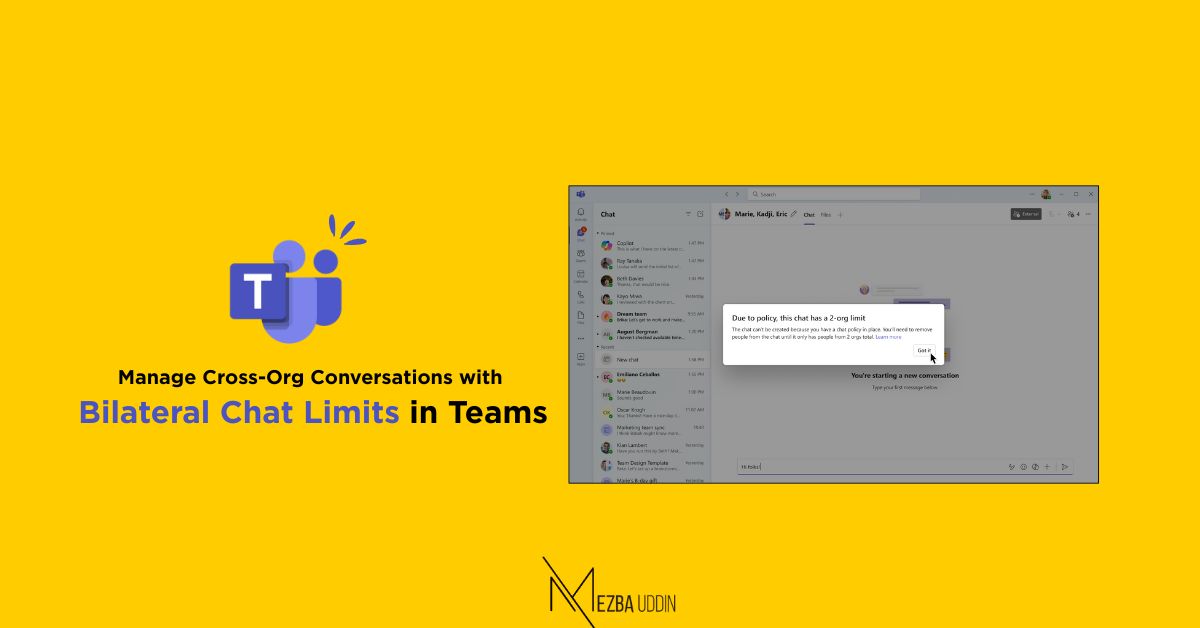
In collaborative environments, maintaining control over who your users can communicate with is critical for security and compliance. Microsoft Teams now allows IT admins to enforce a bilateral chat policy—a targeted restriction that lets users chat only with colleagues and members of one other specific organization.
This article will walk you through everything you need to know: prerequisites, step-by-step instructions via both the Teams Admin Center and PowerShell, and user assignment.
Why Use a Bilateral Chat Policy?
While Teams has long offered the ability to limit conversations to internal members, bilateral chat takes it a step further. With this policy:
-
Users can join group chats only with internal participants and members of one trusted organization.
-
Group conversations involving more than two organizations will automatically remove users who are subject to the bilateral policy.
-
The restriction does not affect meetings, meeting chats, or Teams channels.
Requirements:
Before configuring a bilateral policy:
-
External access must be enabled in your Teams environment.
-
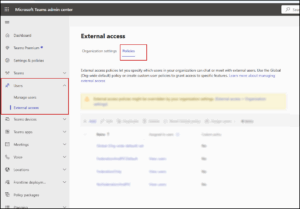
You can review and configure external access settings in the Teams Admin Center under External Access.
How to Create a Bilateral Chat Policy in Teams Admin Center?
-
Sign in to the Teams Admin Center using your administrator account.
-
In the left-hand navigation, expand External Access under “Users” and select Policies.
-
Click Add to create a new policy.
-
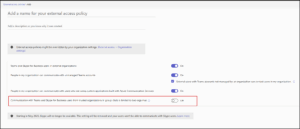
Enable the option:
“Communication with Teams and Skype for Business users from trusted organizations in group chats is limited to two orgs max.”
This activates the bilateral chat limitation for users assigned to the policy.
How to Assign the Policy to Users
Once the policy is created:
-
Return to the Policies page under External Access.
-
Select your newly created policy.
-
Click Assign users.
-
Choose the individuals who should receive this restriction.
-
Click Save to apply the changes.
Set Up the Same Policy Using PowerShell
Prefer scripting over UI? You can configure and assign the bilateral chat rule using PowerShell. Follow these steps:
1. Connect to Microsoft Teams
2. Create the Policy
3. Assign It to a User or Group
4. Confirm Policy Assignment
⚠️ Note: Do not include square brackets when specifying email addresses.
Points to Remember
-
The policy is only enforced on group chats with external users.
-
It does not limit one-on-one chats with external contacts unless combined with other controls.
-
Users under this rule will lose access to existing group chats involving more than two organizations.
Final Thoughts
Bilateral chat policies help organizations maintain tighter control over external communications while still enabling necessary collaboration with trusted partners. Whether you choose the Admin Center or PowerShell approach, setting up this feature is straightforward—and crucial for data-sensitive industries.

