Here is the critical, often-ignored default setting that needs your immediate attention:
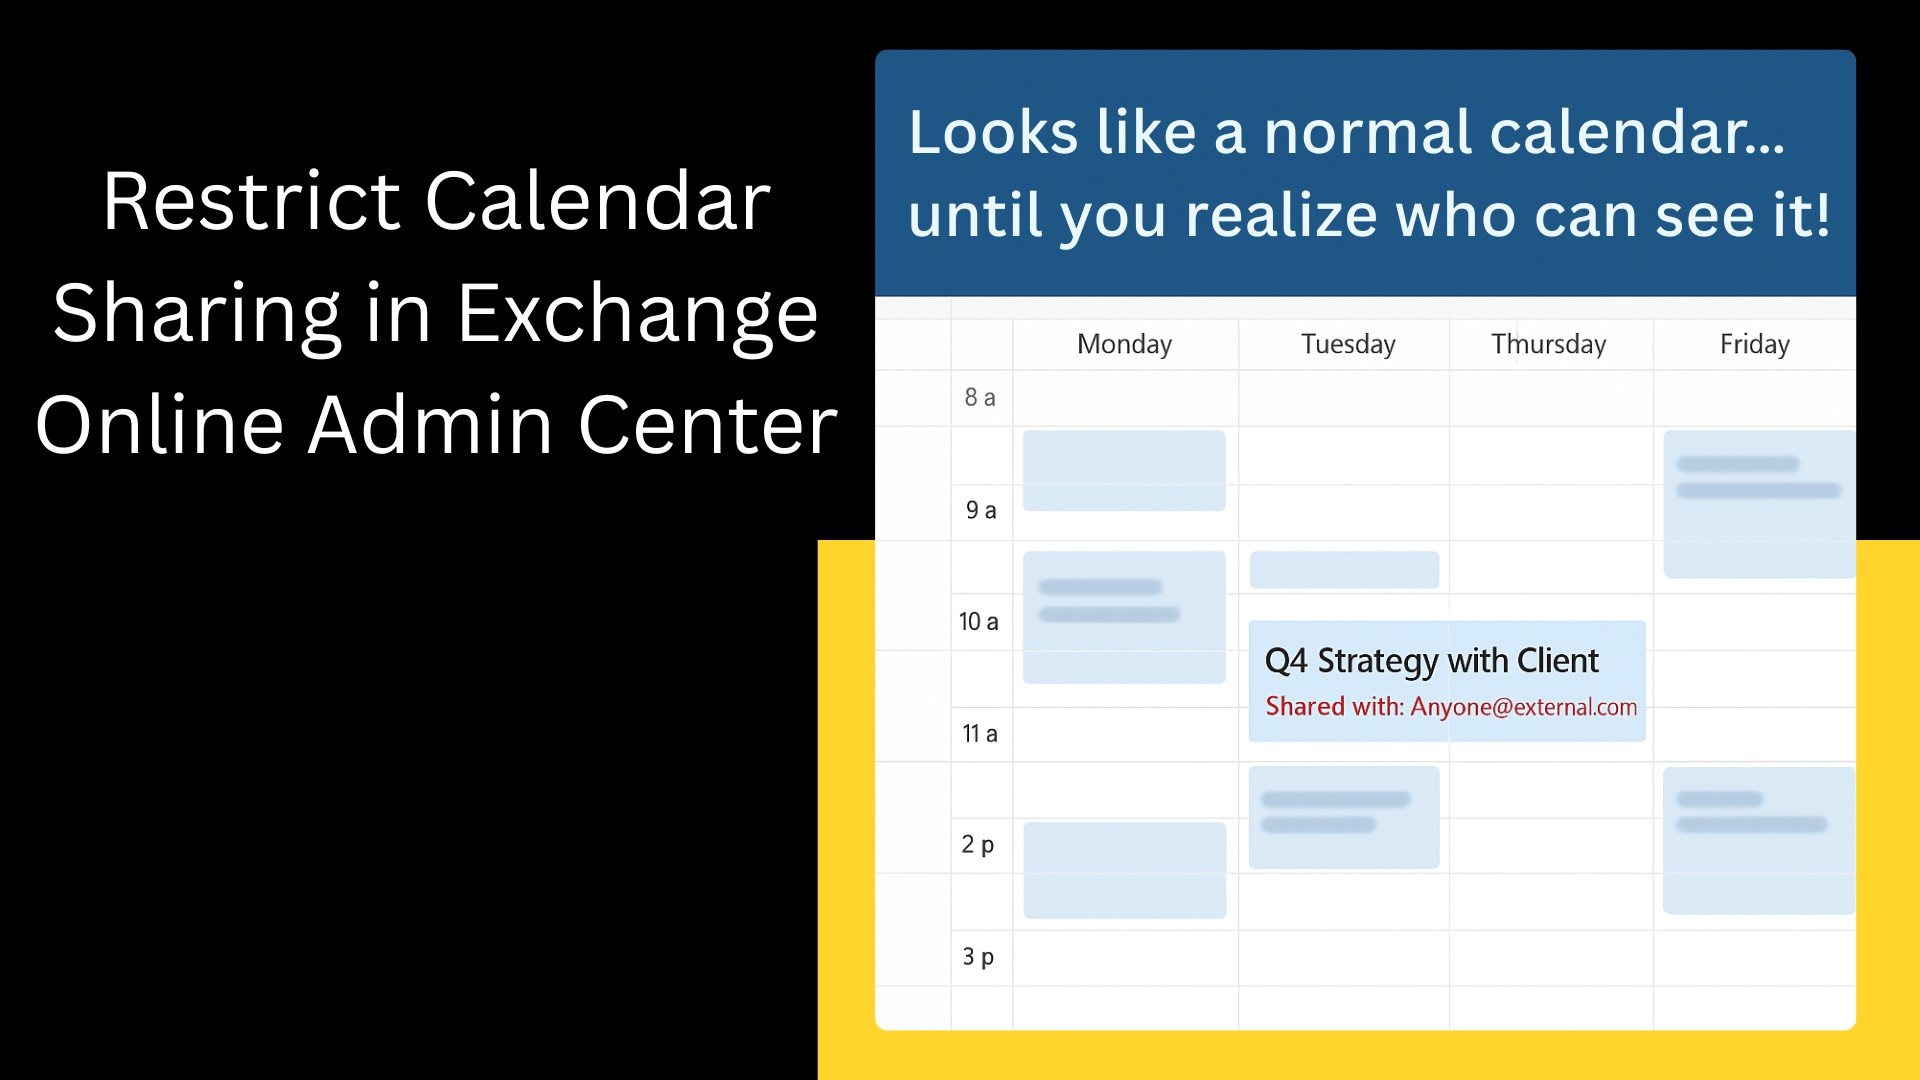
By default, every user in your organization can invite anyone with an email address, a business associate, a friend, a family member, or a completely unknown entity to view their calendar. Yes, anyone!
That means unless you’ve locked it down, your users might be casually sending calendar invites or sharing schedules with people outside your organization, without realizing how much data they’re exposing.
If you haven’t touched your Exchange Online settings, every person in your company is running on an “open door” calendar sharing policy.
The Information Leaks
If a user decides to share their full calendar, they could be inadvertently exposing:
- Meeting Subject Lines: Revealing confidential project names, client discussions, or merger details.
- Attendees: Exposing internal organizational structure or key personnel involved in sensitive projects.
- Location and Time: Allowing external parties to build a pattern of executive movements or routine meetings.
- Free/Busy Details: While less risky, it still confirms a person’s presence or absence, which can be useful information for social engineering or phishing attacks.
When users can share freely, you lose the ability to enforce who sees what. In a world focused on Zero Trust and data governance, having this level of unrestricted sharing is simply a Non-Starter.
The Solution: Create a Controlled Calendar Sharing Policy
Exchange Online gives you Sharing Policies to control how your users share calendars (and even contacts) with people outside your tenant.
Instead of letting everyone decide on their own, admins should define the control.
- WHO your users can share their calendars with (e.g., all domains, or only specific domains like trusted partners).
- WHAT level of calendar access they are allowed to share (e.g., only Free/Busy with time, but no subject or location).
Here’s what you can restrict:
- Allow sharing with specific domains (like partner companies).
- Limit visibility to free/busy time only or include more details like subject and location, depending on trust levels.
- Block sharing entirely for certain users or departments handling sensitive data.
Step 1: How to Create a Sharing Policy in Exchange Online
You can set up a sharing policy in two ways: through the Exchange Admin Center or PowerShell.
- Open Exchange Admin Center → Organization → Sharing.
- At the second tab, click Add Individual Sharing Policy
- Give your policy a friendly, descriptive name (e.g., “Restricted External Calendar Sharing”). Click Next.
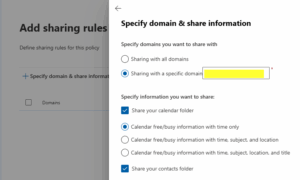
- In the Add sharing rule section, click Specify domain & share information.
- Define the Domains:
- For the most secure option, select Sharing with a specific domain and list only the domains of your trusted partners.
- If you need to share with everyone but want to restrict content, select Sharing with all domains.
- Define the Access Level (The Crucial Security Step):
- Click the Share your calendar folder checkbox.
- Select the most restrictive level that meets your business need. My default recommendation for most organizations sharing externally is:
✅ Calendar free/busy information with time only – This lets people schedule meetings without revealing what the meetings are about.
| Policy Option (As seen in EAC/PowerShell) | Information Exposed | Use Case & Security Implication |
| Free/Busy information with time only | Only shows blocks of time as Free, Busy, Tentative, or Out of Office. No subjects or locations are visible. | Most Restrictive/Recommended for High Security. Perfect for external partners where you only need to coordinate scheduling availability without revealing any internal meeting context. |
| Free/Busy information with time, subject, and location | Shows Free/Busy status, the Subject (title) of the meeting, and the Location. | Moderate Restriction. Useful for close, trusted partners where knowing the topic (subject) and where the meeting is happening is helpful for context, but full details (attendees, notes) are unnecessary. |
| All calendar appointment information, including time, subject, location, and title | Exposes the Subject, Location, Time, and usually attendees/notes (if the event isn’t marked Private). | Least Restrictive. This level is typically reserved for internal delegates or extremely trusted external parties. You should generally avoid allowing this via the default external sharing policy to prevent accidental leaks of sensitive details. |
7. Click Next and then Create (or Review and finish).
Step 2: How to Apply the Sharing Policy to Mailboxes
A policy does nothing sitting on the shelf! You need to apply it to your users’ mailboxes to override the default. Remember, sharing policies are applied on a per-mailbox basis.
Option A: Apply to a Single Mailbox via Exchange Admin Center
Use this for testing or for specific mailboxes that need a special policy.
- In the EAC, go to Recipients → Mailboxes.
- Select a user’s mailbox. And in the details flyout, go to the Mailbox tab.
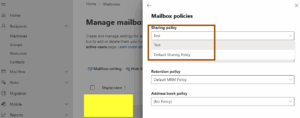
- In the Mailbox policies section, select Manage mailbox policies.
- On the Mailbox policies flyout, select the new policy you created/want.
5. Click Save.
Option B: Bulk Apply to All Mailboxes Through PowerShell Method
For efficiency, especially with hundreds or thousands of users, PowerShell gives you finer control. Before all, connect to Exchange Online PowerShell.
- Apply the policy to all user mailboxes:
Get-Mailbox -ResultSize Unlimited -Filter {RecipientTypeDetails -eq "UserMailbox"} | Set-Mailbox -SharingPolicy "ContosoRestricted"
This command first finds all standard user mailboxes in your organization (Get-Mailbox…), then it pipes those results to Set-Mailbox, applying your new, restrictive policy to every single one.
2. Apply to all users in a department:
$Sales= Get-Mailbox -ResultSize unlimited -Filter "Department -eq 'Sales'"
$Sales| foreach {Set-Mailbox -Identity $_.Identity -SharingPolicy "Contoso Sales"}
3. To verify a single mailbox:
Get-Mailbox -Identity "JaneDoe" | Format-List SharingPolicy
If it returns your policy name, it’s successfully applied.
Recommended Best Practices
- Start with restricted policies and open access only when justified. For instance, Sales might share externally, but Finance shouldn’t.
- Use audit reports to identify who’s sharing externally and what’s exposed.
- Make them aware that calendar data isn’t harmless metadata; it’s organizational intelligence.
By taking this simple, 15-minute administrative step, you dramatically reduce your organization’s risk profile regarding external data leakage.
If your users can currently “invite anyone”, it’s time to fix that.

